...
Open an existing Word document, or create a new one.
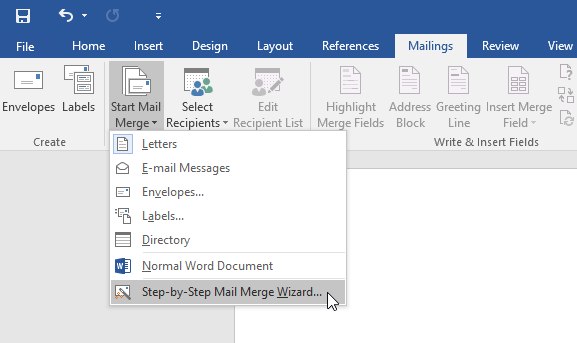
Click on Mailings in the top menu
Click on Start Mail Merge
Click on Step-by-Step Mail Merge Wizard from the drop-down menu
The Mail Merge pane will appear and guide you through Six Steps below.
...
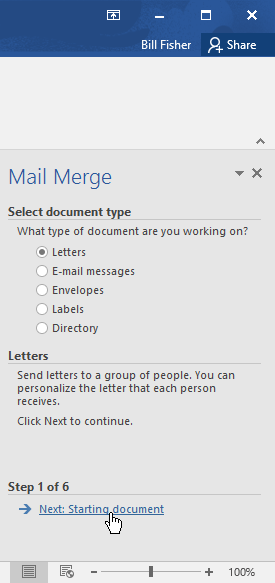
The Mail Merge task pane will be on the on the right side of the Word window
Under document type: Click on Letters
Under step 1 of 6: Click on Next: Starting document
Step 2:
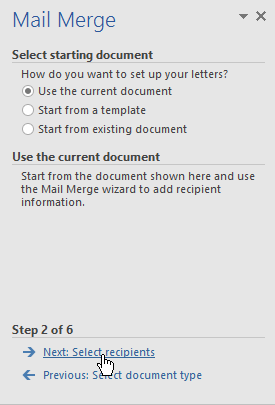
Under starting document: Click on Use the current document
Under step 2 of 6: Click on Next: Select recipients
Step 3:
You'll need an address list so Word can automatically place each address into the document. The list can be in an existing file, such as the file you downloaded from Skyline.
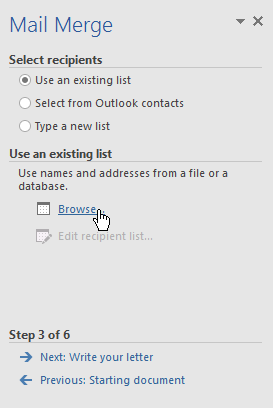
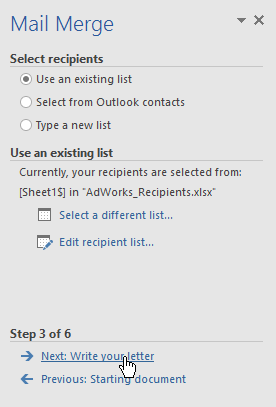
Use an existing list will be selected as default
Under use an existing list: Click on Browse or Select A Different List to select the file
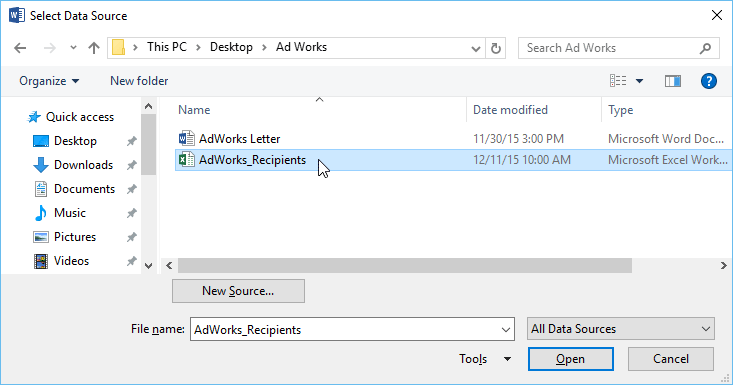
Browse to and highlight to the excel document you downloaded from Skyline and saved
Click on Open
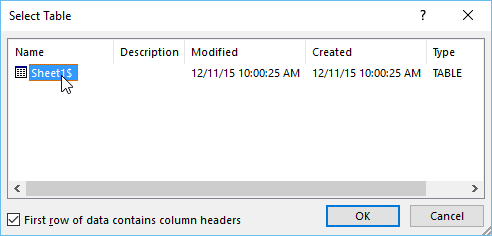
Select Table will open: Click on OK
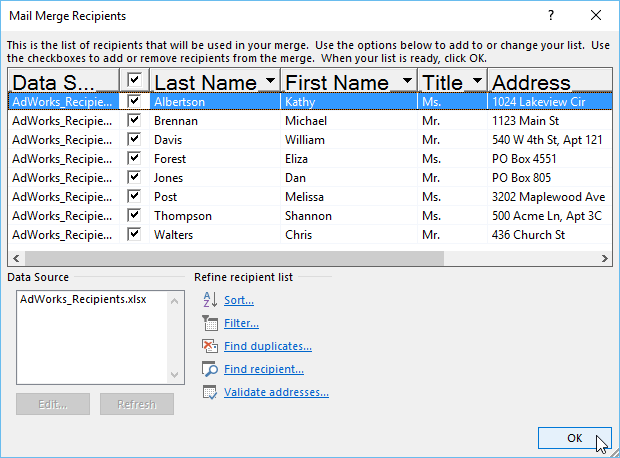
The Mail Merge Recipients will be listed, all are ticked as default. You can uncheck recipients if needed.
Click on OK
Under step 3 of 6: Click Next: Write your letter
Step 4:
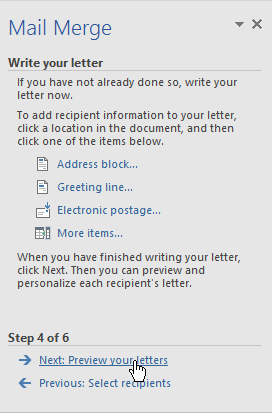
You’re now ready to create your invite letter template. When it's printed, the body of the letter will be the same; the only difference will the recipient data (such as the name and address).
...
Note, it’s easier to insert all the fields you want in the letter first (won’t be in the right place) and then move them in the document.
Note, remember to leave a blank space at the top of the document if you’re using practice headed paper. You could also paste in the practice header into the template if needed.
You can also add a date
Move the cursor in the document where you want the date to be inserted
Click on the Insert tab in the Word menu
Look across the menu for the Text section
Click on Date & Time
Select the date format you want
Tick Update Automatically
Click on OK
Your template will now have the date populated
Under step 4 of 6: Click on Next: Preview your letters
Step 5:
The first recipient name and address will be populated into the letter. Note, if there’s blanks in the address, for example address line 4, this is because there’s no data in this field.
...
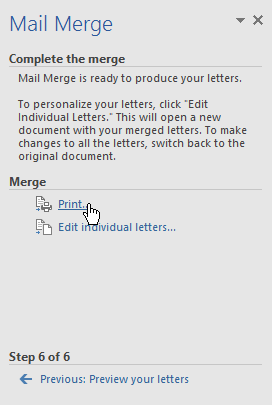
Under Merge: Click on Print to print the letters
Decide if you want to print All of the letters, the current document (1 letter), or only a select group
...
Click on OK - your invites should now be printing
| Note |
|---|
Note, the first time the fields are added to the letter template you MUST SAVE the document; we recommend you save this on a shared network drive and give it a valid name, for example Health Checks Invites. You can use this template the next time you run a Mail Merge and won’t need to add the fields. See Running A Mail Merge On An Existing Template. |
